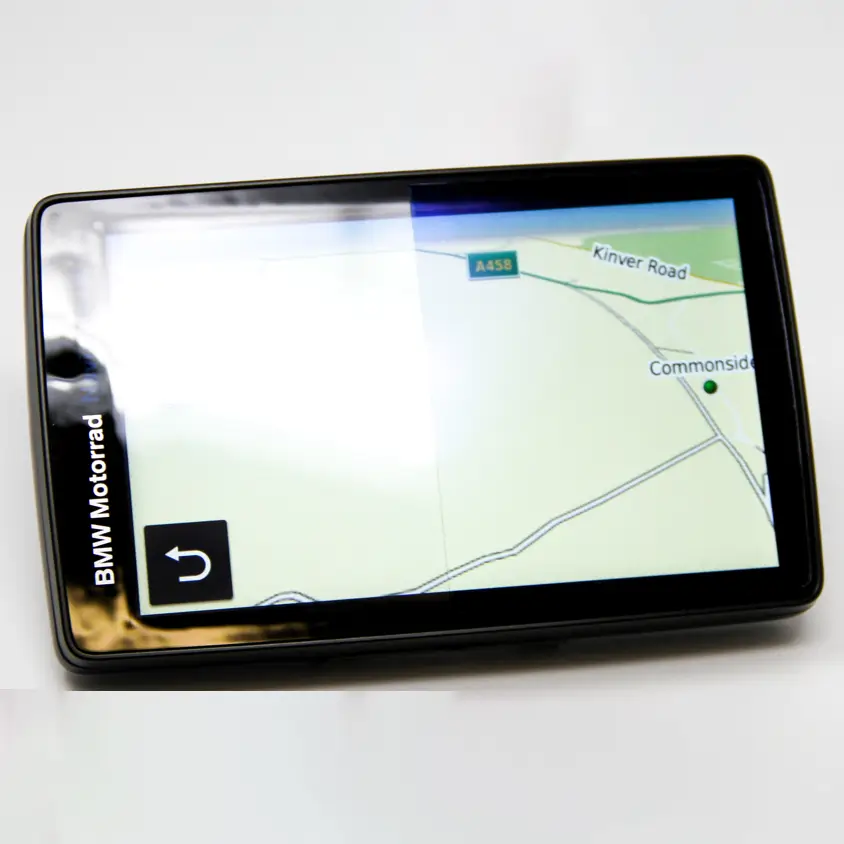
Say Goodbye to Glare: The Essential Garmin Nav 6 Anti-Reflective Film
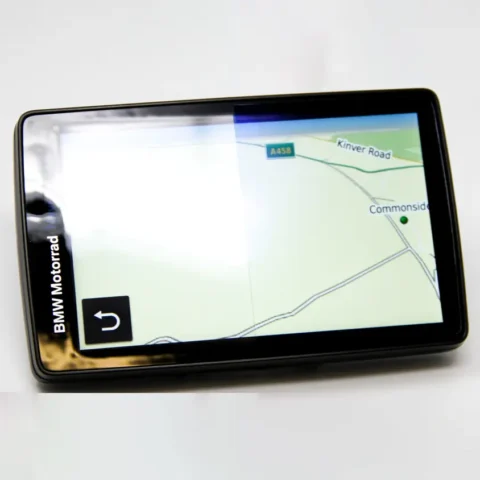
With the Garmin Nav 6 Anti-Reflective Film, you can say goodbye to shading a screen in harsh sunlight
With the Garmin Nav 6 Anti-Reflective Film, you can say goodbye to shading a screen in harsh sunlight

At Diamond Coatings, we provide the foundational transparent conductive coatings that make these advanced switches possible

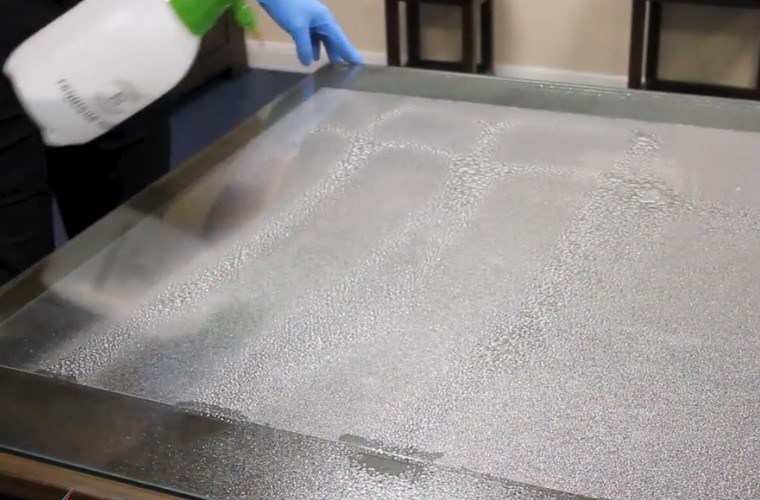
At Diamond Coatings, we specialise in turning ordinary glass into high-performance heated windows
As a leading name among ITO companies, Diamond Coatings doesn’t just supply standard coatings; we engineer bespoke solutions that push boundaries